Thanks for stopping by! Today, I want to discuss an issue we see over and over again with homeowners experiences with topical sealers.
First of all, let me explain what a topical sealer is. It is a liquid that is mopped onto a floor and when it dries it creates a film over the floor. I consider wax, acrylic, urethane, polyurethane, epoxy, and lacquer all topical sealers. Some of these are considered temporary and the manufacturers expect you to periodically remove (strip) them and reapply. Some of these are considered permanent and they are very difficult to remove when the time comes (and it will come).
There are some good qualities of topical sealers. For instance, they provide a protective barrier between you and the tile. This barrier can protect the floor from scratching, staining, and acid etching (on marble, limestone, or travertine). However, the downsides of these sealers often outweigh any benefit you get from them, and they are completely unnecessary on most ceramic and porcelain tile. Topical sealers can also change the sheen of your floor by giving a dull tile a glossy look and they can even enhance/deepen the colors in a natural stone tile.
So, why do I discourage its’ use in homes?
It’s a maintenance issue! Most homeowners like having tile because it is low maintenance. First of all, topical sealers are easily scratched, scuffed and worn off in heavy traffic areas. Yes, the floor will look great for a while, but the appearance begins to degrade over time. In a commercial setting, the maintenance crews are constantly reapplying sealer and using high speed burnishers to remove all the scratches. You, as a homeowner, don’t want to do that maintenance nor do you have the equipment necessary to complete the work. Secondly, you can only reapply so many coats before the floor will get a chalky or milky look to it. At this point, you have to remove (strip) all the sealant from your tile and grout and then start over with a brand new coat. This stripping process is harsh and it can be harmful to natural stones (as well as the painted and stained surfaces nearby). Thirdly, topical sealers will eventually start to yellow and darken. Often, homeowners actually forget what color their tile was before the topical sealer. I actually had a homeowner accuse me of bleaching her tile during my demonstration! Fortunately, I was able to show her the same color under the living room rug.
In addition to topical sealers being a maintenance issue, they can also cause problems in natural stones. Topical sealers do not allow the floor to breath properly. If moisture gets under the tile, there is no way for moisture evaporate from the surface. This can cause natural stones to discolor, or even start coming apart.
When purchasing a sealant to use on your grout, look for terms like “penetrating” or “impregnator”. These types of sealers are “below the surface” sealers intended for use on natural stones and grout. If you are looking at a sealer that specifies a “sheen” level or has the term “finish” in the description, you are looking at a topical sealer (put it back). Another giveaway is that topical sealers usually sell for a fraction of the cost of a quality penetrating sealer.
You should also look out for what your housekeeper puts down on your floor. There is a common acrylic sealer called “Mop n Glo”. I have a neighbor whose housekeeper used Mop n Glo on their tile every other week for 10+ years. Before they sold their house, the owner replaced a broken tile. The problem was the new tile was a different color than the surrounding tiles all because of what the Mop n Glo had done over the years to the tile.
Exhibit 1
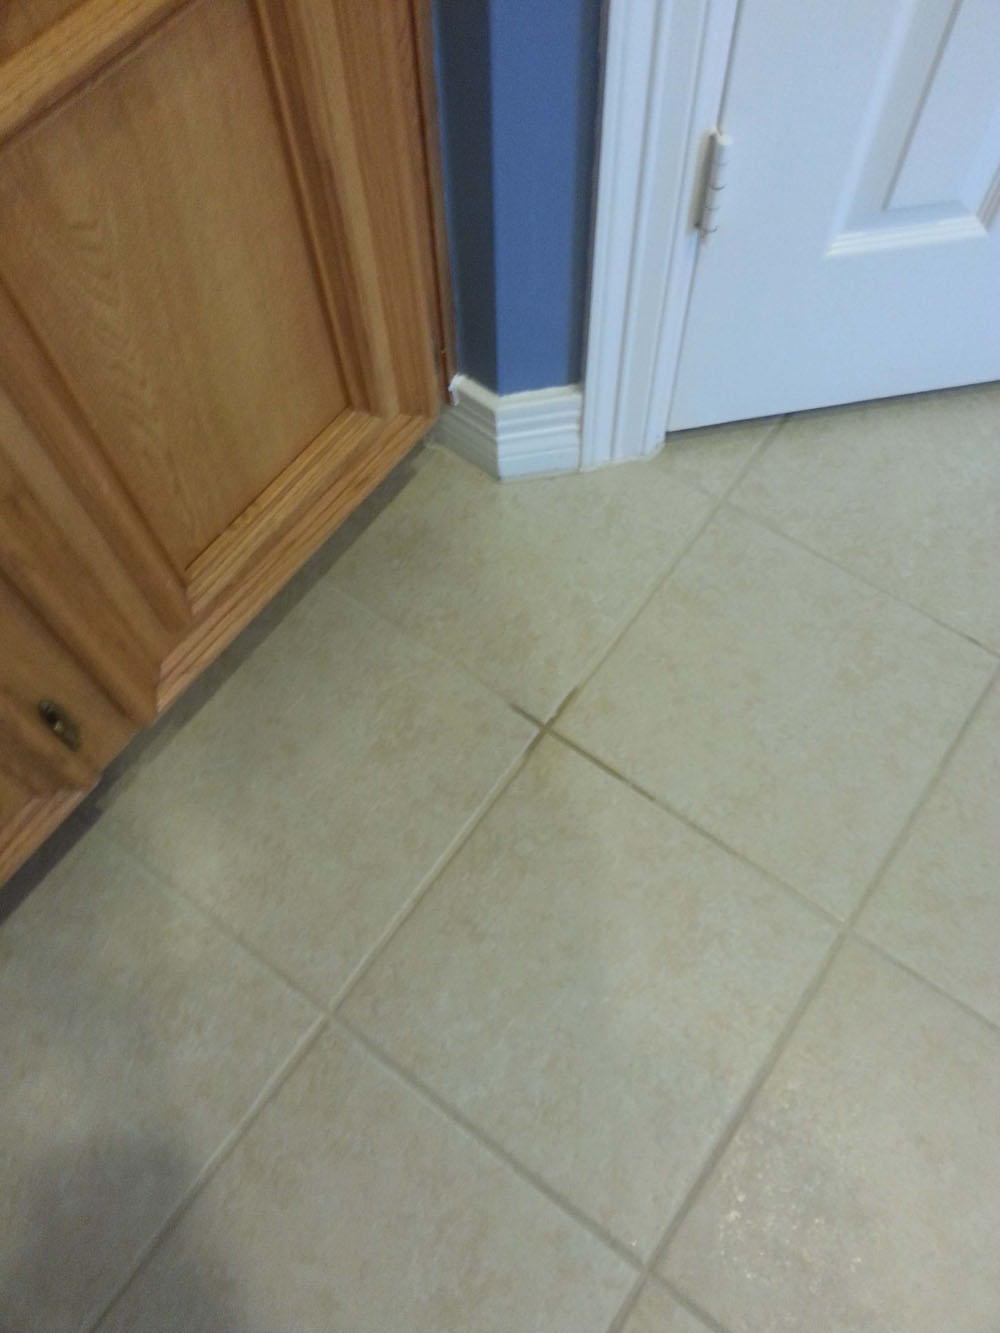
 This was a brand new travertine floor in Houston. The customer had the floor installed but was unhappy that the travertine was not shiny. After consulting with the installation company, he decided to apply an acrylic based topical sealer. He was excited because his floor now had a gloss to it. However, within a month or two we got the call to come take a look at his floor. He complained about scratches on the floor and the fact that his rug pads were sticking to the floor when his housekeeper would move them to sweep. Look closely at this picture and you can see lots of scratches. Also visible is a scuff mark in the bottom left corner.
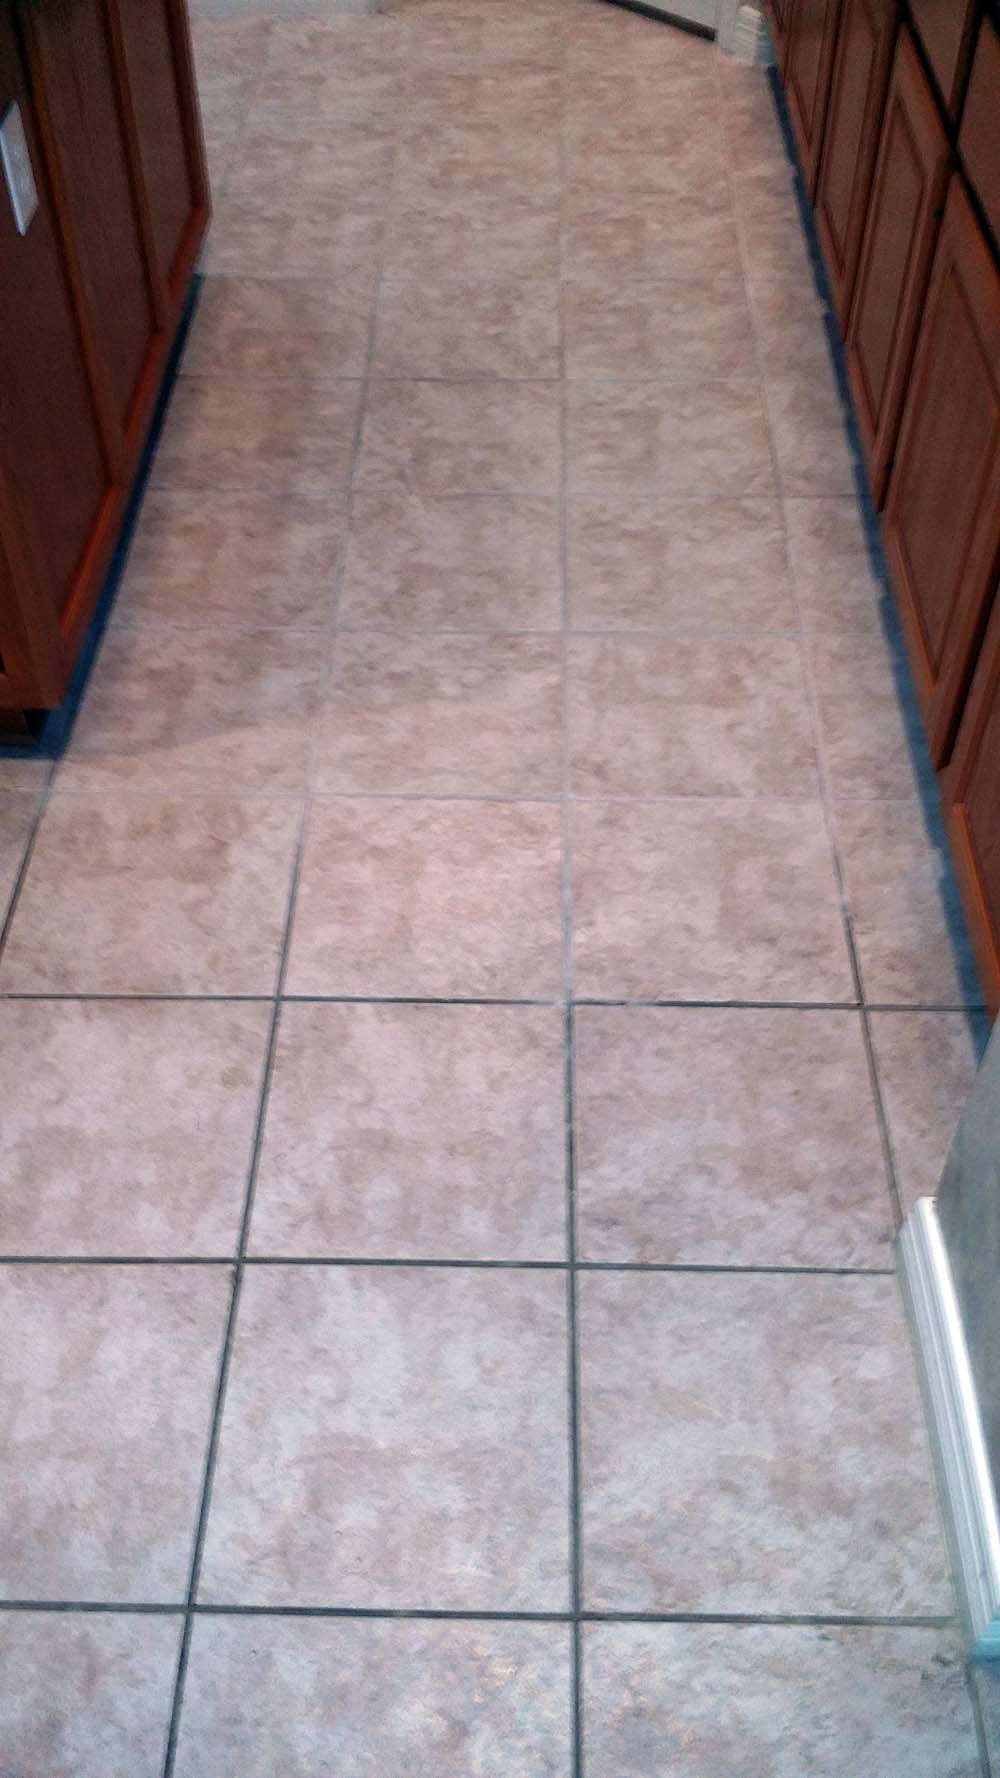
He decided to have us remove the topical sealer. Because he installed travertine tiles, we were able to mechanically polish his floor to give him the gloss he desired.
Here is the floor after the sealant has been removed and after we polished the floor. This is the shine the homeowner was looking for!
Exhibit 2
 Here is a floor located in Cinco Ranch in Katy. It is a ceramic tile that has a some texture on the surface of the tile. Anytime a tile has texture it is a little bit more difficult to keep clean because the dirt and cleaning residue gets embedded in the texture. For this reason, many homeowners decide the floor will be easier to take care of if it has been “sealed”.
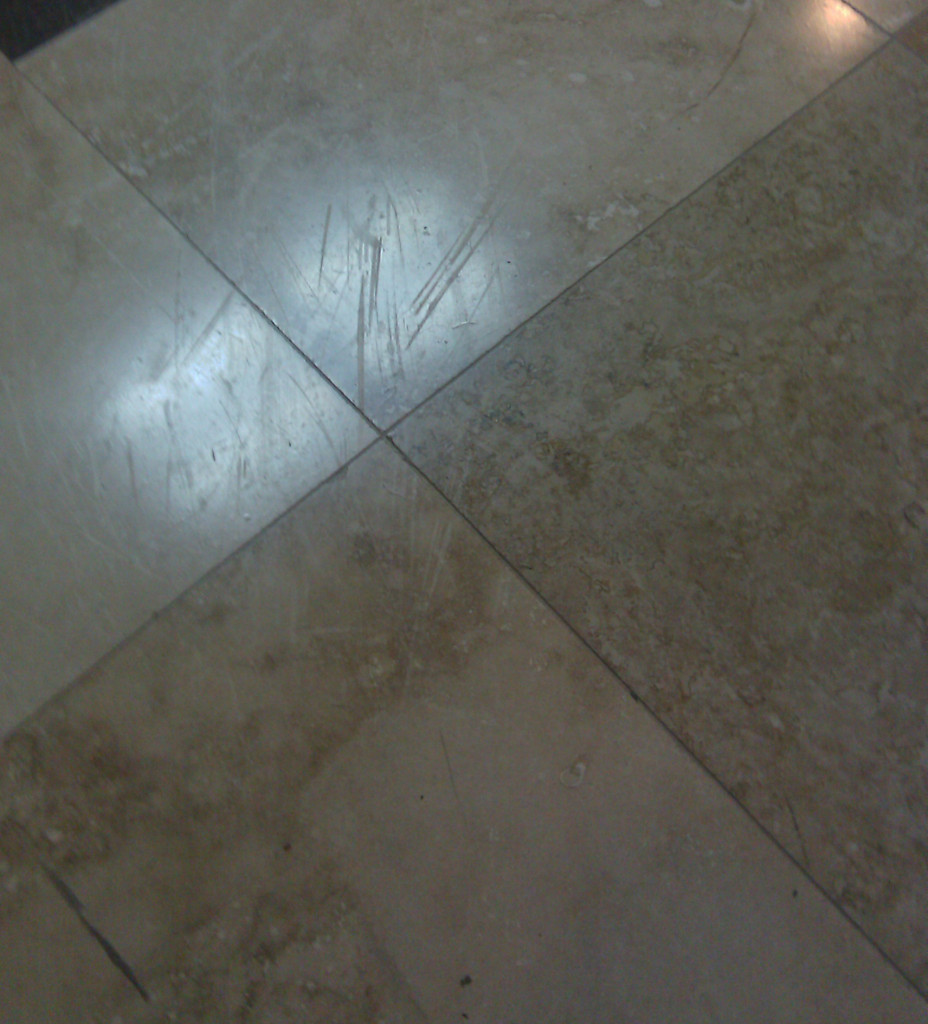
See what happens when you add a little bit of time and wear to a topical seal? Look at the color difference where the rugs were pulled up. Many topical sealers will yellow when exposed to UV light, but the sealant also become a trap for dirt and dirty mop water.
When we encounter a situation such as this, I offer the customer options. We can completely strip the existing seal off the floor (the more expensive option), we can do a regular cleaning (with heavy duty cleaning solutions and high heat), or we can attempt to clean the floor with neutral solutions, low heat and low pressure (in an attempt to not harm the sealant). This customer asked that we clean his floor just like we would clean any other tile floor. So, we cleaned his tile and grout using our regular cleaning solution and 200 degree water. We took no extraordinary measures in order to remove the sealant.
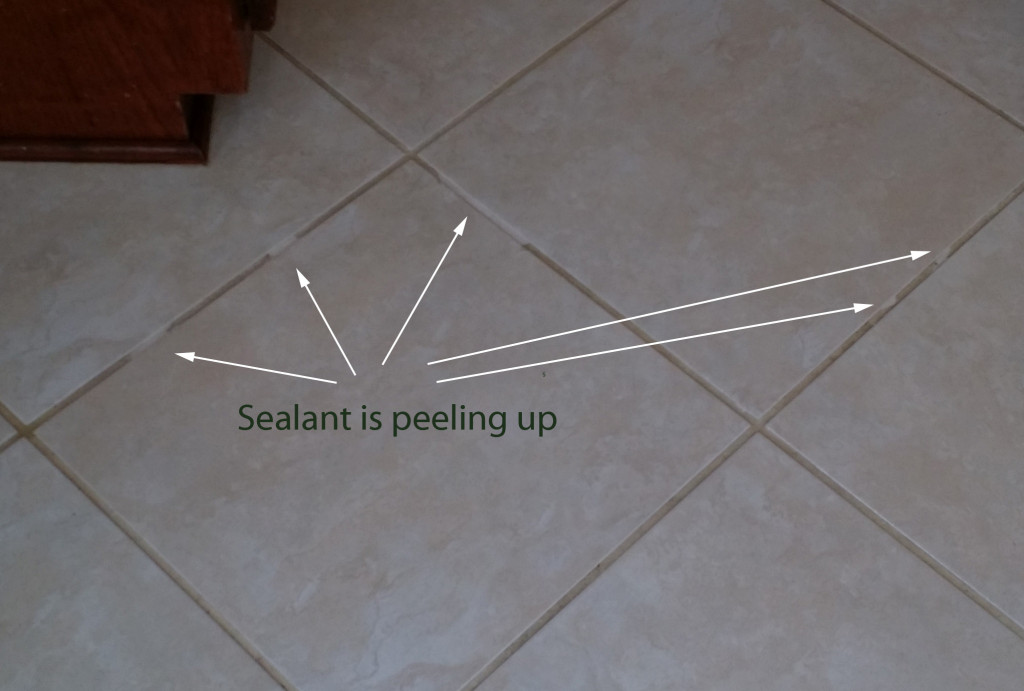
Most of the sealant came off the surface of the tile, but the grout lines had a very thick layer of sealer and most of it stayed in place. This picture shows where the sealer is peeling up during the cleaning.
In the picture to the right, you can see where the sealer came out of the grout and revealed the original grout color. The grout lines where the sealer did not come up are now nice and clean, but notice that the color did not return to normal. This is due to the “yellowing” of the sealant due to UV exposure. The only way to fix this is to completely strip the grout lines of the topical sealant.
This floor would have looked far better with us completely stripping the sealant, but that task would have been far more work and it wasn’t in the customer’s budget.
Before
After
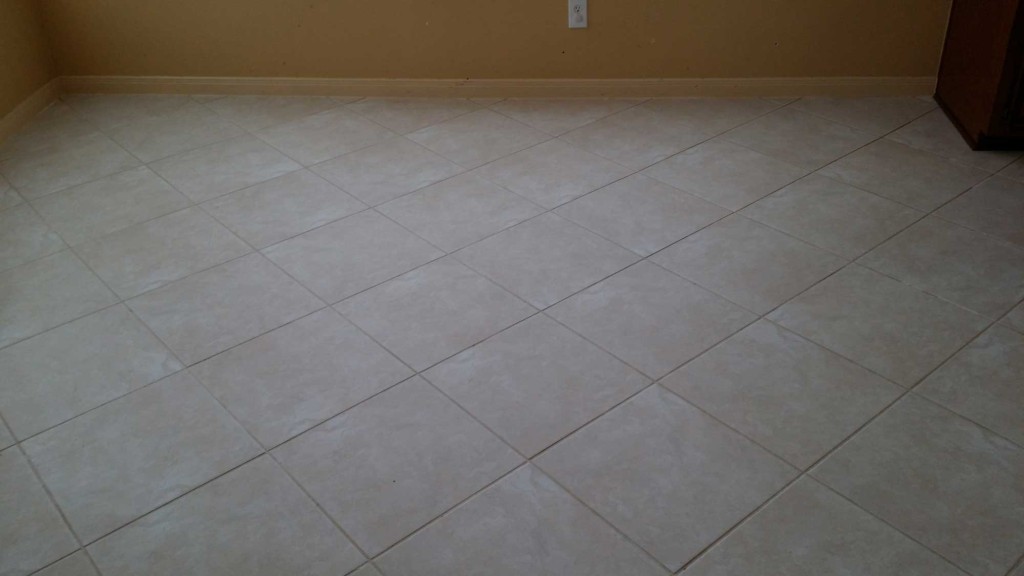
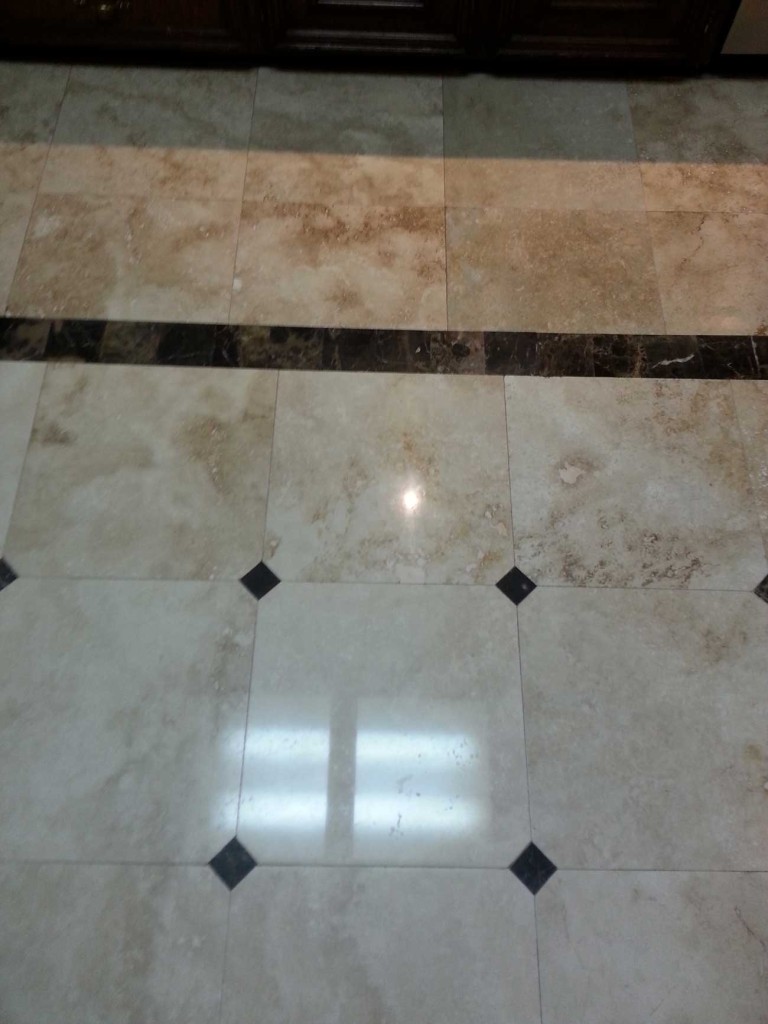
Exhibit 3
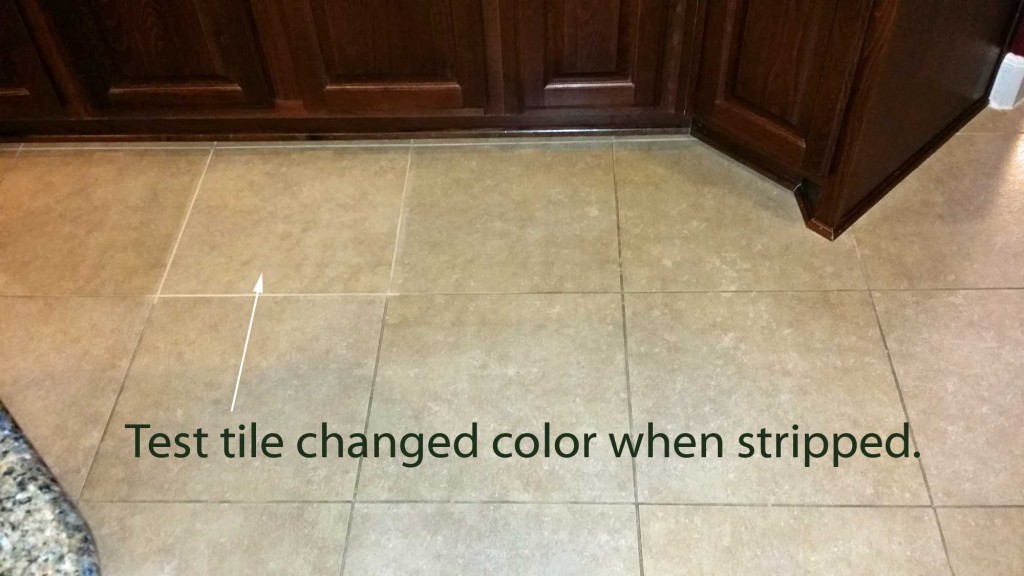
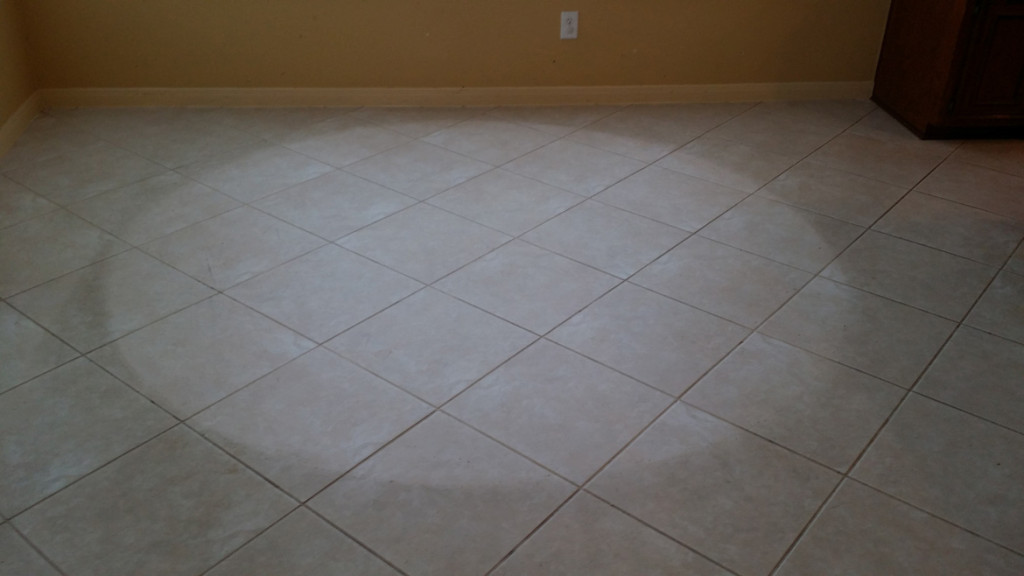
This porcelain tile floor is in Firethorne in Katy. It had at least one coat of a topical sealant. You can see the test tile here. When the tile was cleaned/stripped of the topical sealant the tile lightened.
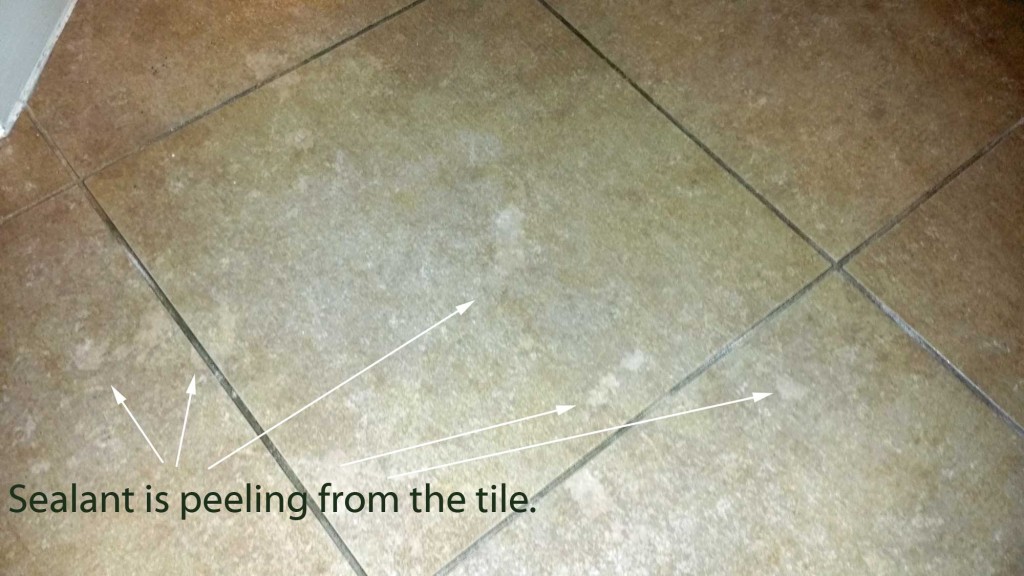
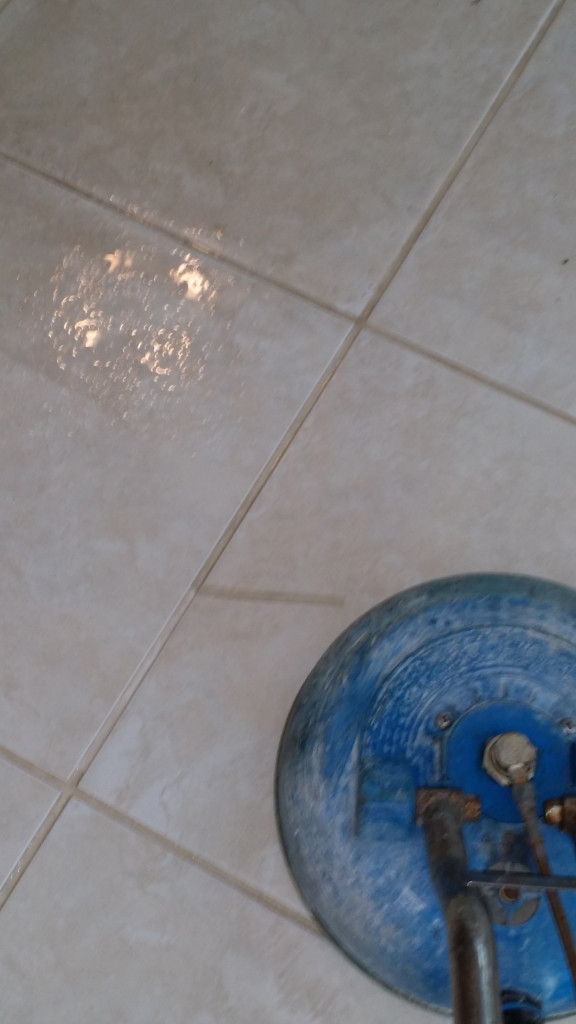
You can see in this picture the sealant is starting to peel off the surface of the tile. The customer tried adding fresh sealer to the floor, but they stated that the new sealer would not adhere to the places where the old sealer was coming up. 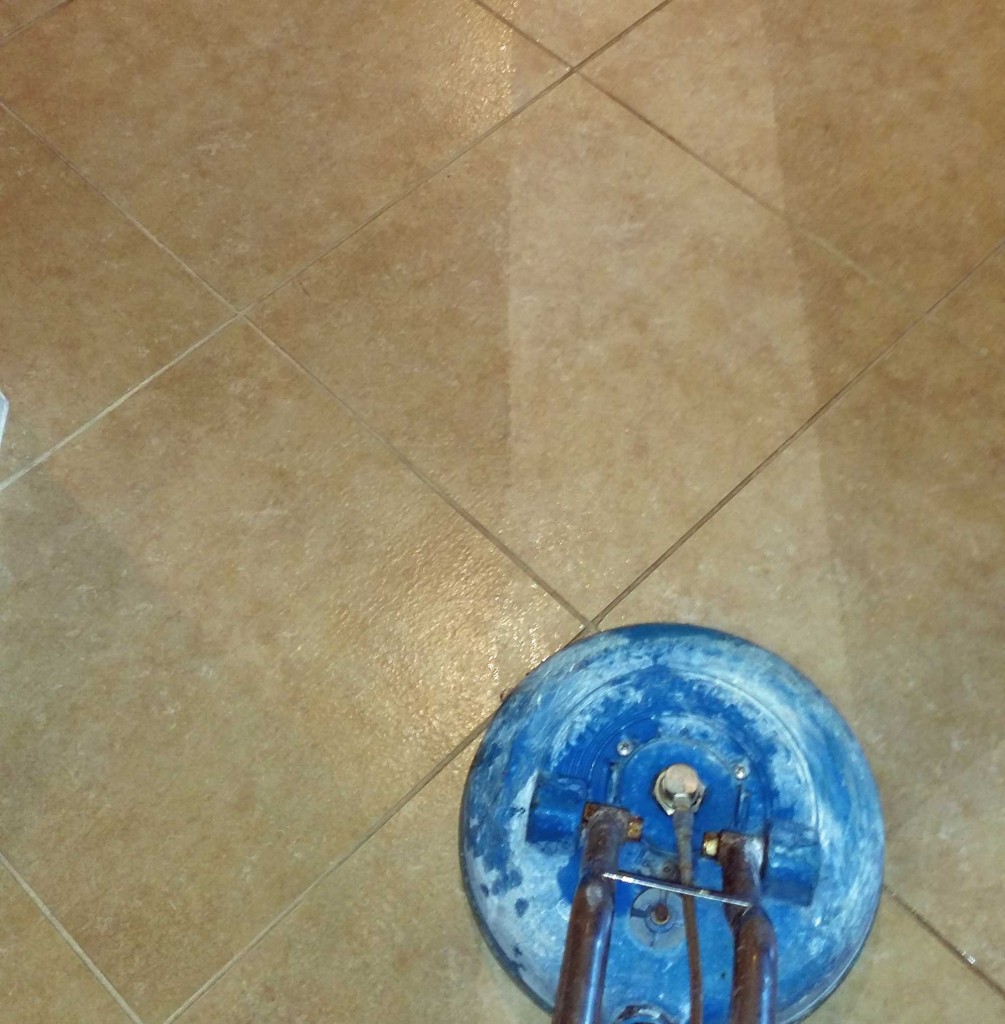
Our steam machine made short work of the thin coat of sealant on the surface of the tile! Removing the sealer from the grout was more difficult. This is usually due to the fact that the sealer “pooled” in the grout lines and can be significantly thicker in the grout lines.